Sunday 29 November 2009

Friday 27 November 2009
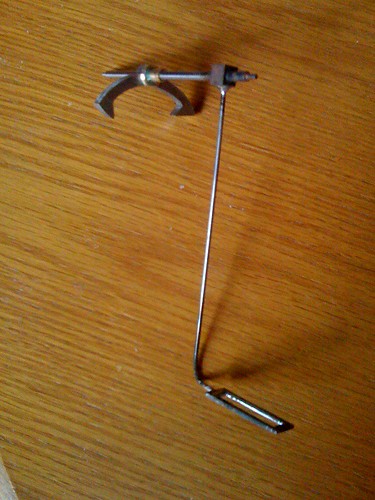
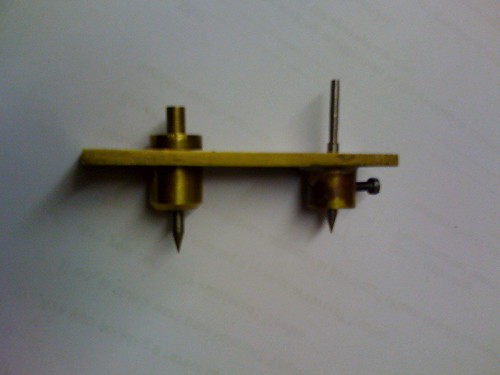
pallet arbor crutch
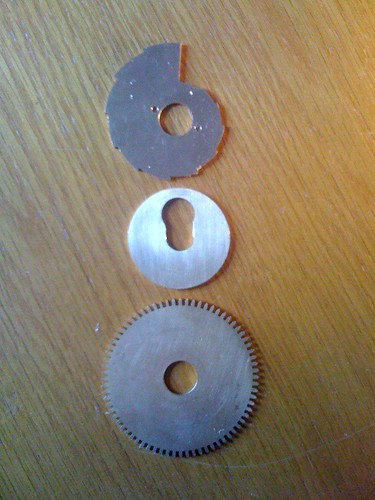
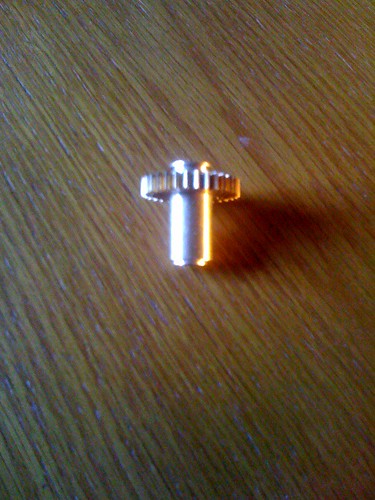
The 1/8" arbor goes all the way through a hole drilled through the centre of a 1/4" mild steel block. The crutch is 1/16" steel rod soldered to the block. The slotted plate is milled from 1/16" mild steel.
I round the inside edges of the slot to stop it snagging on the suspension spring block.
I round the inside edges of the slot to stop it snagging on the suspension spring block.
Thursday 26 November 2009
Saturday 21 November 2009
Tuesday 17 November 2009
Next:
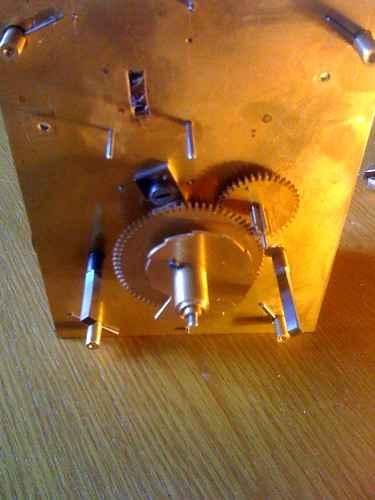
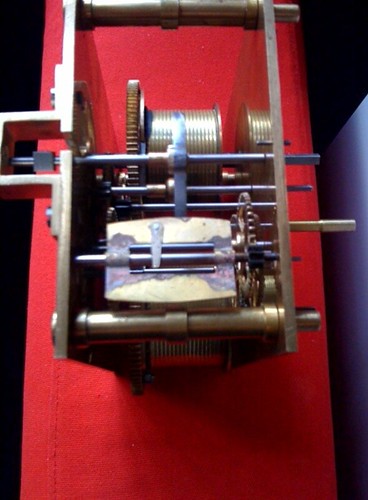
Next I would like to make the pallet arbor crutch. But this can't be fitted until I cut out the top slot in the back plate. Because once it's soldered on I won't be able to get it out unless that slot is cut. But; one of my registering pins is right there in the way, and I need it to help me position and depth the striking train. So the striking train has to be done next all the way up to the fly. Then I can cut out the back plate, so that I can work down towards the pendulum.
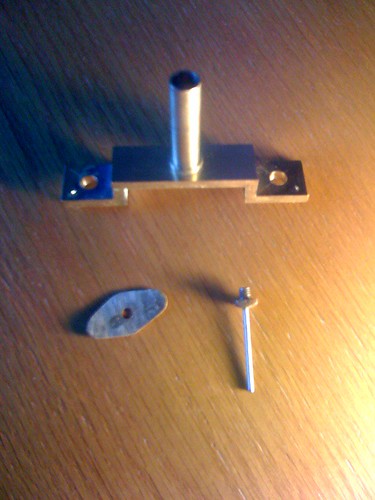
The Backcock
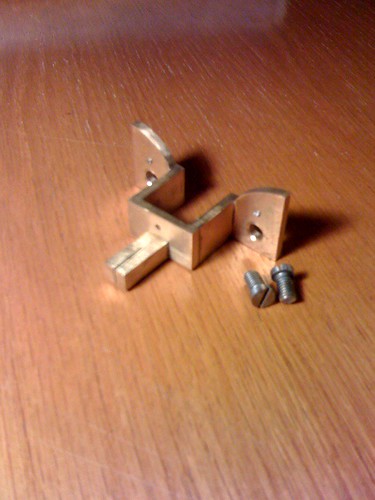
Two pieces of brass angle 3/4" x 3/4" x 1/8"
A piece of brass strip 1/2" x 1/8" and a piece of 1/4" brass rod.
Silver soldered together and milled square.
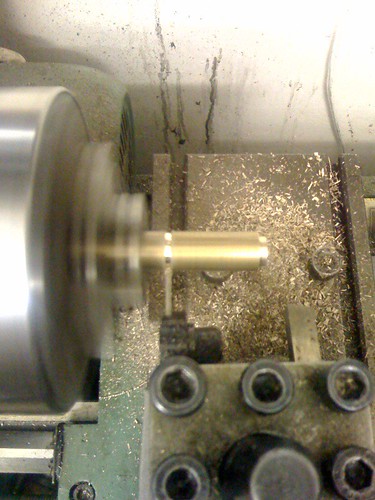
The 1/4" square piece is riveted on by turning a spigot on the end. Cut a slit in the square rod on the milling machine.
When in position correctly clamp it down and spot through the two 2BA and two register pin holes.
A piece of brass strip 1/2" x 1/8" and a piece of 1/4" brass rod.
Silver soldered together and milled square.
The 1/4" square piece is riveted on by turning a spigot on the end. Cut a slit in the square rod on the milling machine.
When in position correctly clamp it down and spot through the two 2BA and two register pin holes.
Sunday 15 November 2009
Saturday 14 November 2009
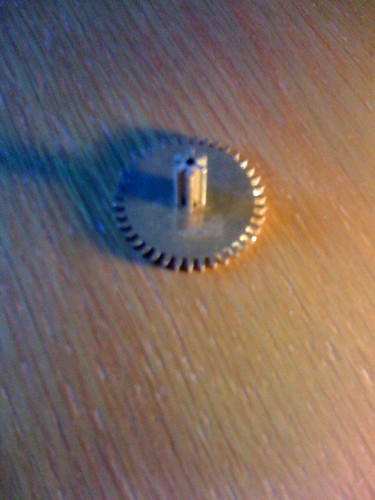
Making the Anchor
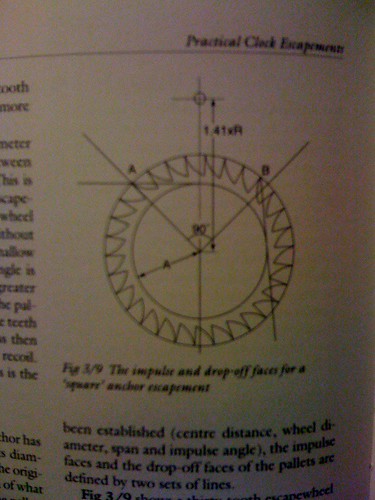
To mark out the steel for the anchor I either clamp the scape wheel directly to the high carbon steel sheet or mark it on paper then scribe from that. This Escapement is a square recoil escapement, square because the pallets span 7 1/2 teeth of the scape wheel which has 30 teeth.
So mark (on the paper) the 7 1/2 points (with a dot of your pen)
Coincidentaly (and this is not critical) the inner circle of your crossed out wheel is approximately right for finding the degree of angle for the two impulse faces (radius= .71). So scribe/draw a line from your dots and across the inner circle so it just touches it, one across the top from the left pallet and one down the right from the right pallet. Next put in the drop-off face angles; from the centre of the wheel draw a line outwards directly to both dots and past, shade in to make clear this is metal to keep.
Next find the position for the anchor arbor. The distance between the arbors is X.
X divided by the radius = 1.41 ~ so the radius multiplied by 1.41 = X.
In this case 1.15.
Use a compass to scribe this line, it doesn't matter too much where along the anchor the arbor hole goes. Place it centrally to look good.
Carve all this out of the steel keeping clear of the scribe lines as it can be shaped little by little in the depthing gauge. Hopefully it should jam as you have made it too big and when it is nearly there finish it off by planting it in the clock. When it is nearly there remember to file/polish down the drop-off faces which shortens the pallet instead of taking too much off the impulse faces making it 'drop' too far.
Friday 6 November 2009
Subscribe to:
Posts (Atom)
